
The video frame that actually shows my dovetail joint
 Woodworking blogger on YouTube
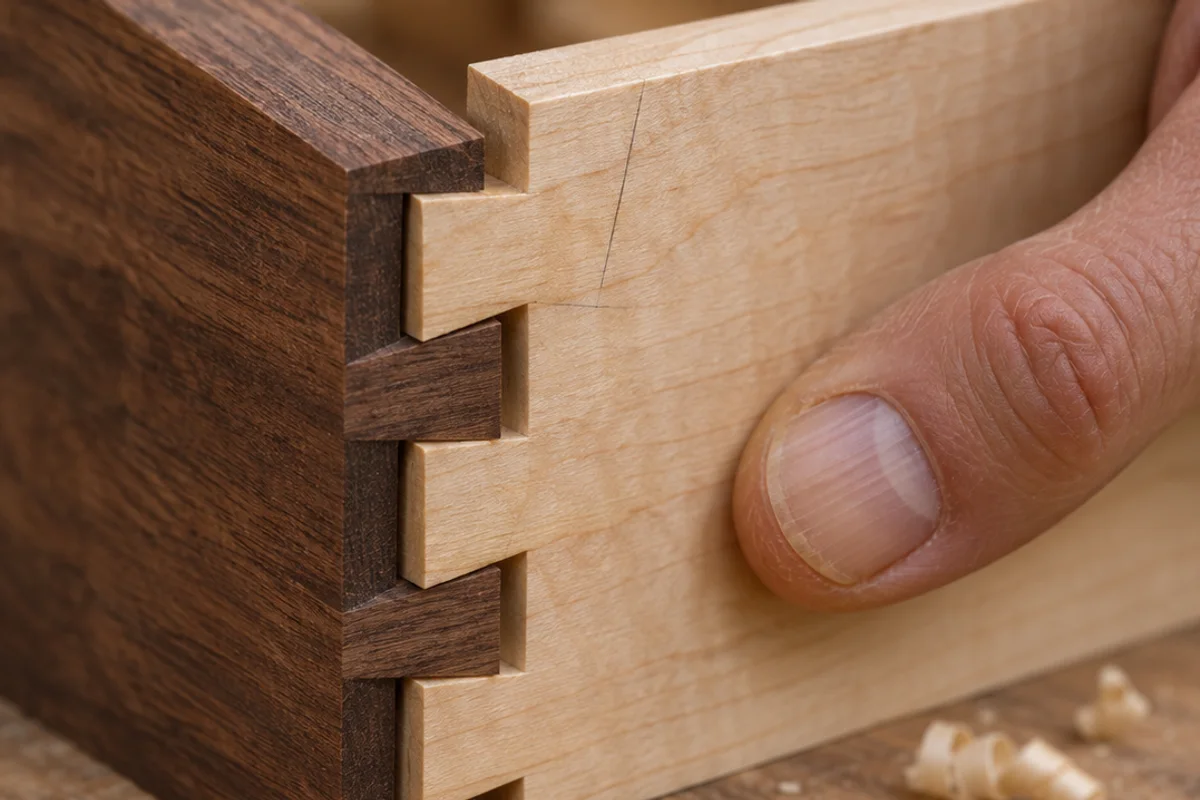
My favorite moment in the build is the last tap that seats the joint. It turns out to be a poor thumbnail: my mallet covers the very thing I want a viewer to see.
I look a few frames before the tap
I scrub back to the dry fit, when the walnut pins are still a little proud of the maple. The two woods give the joint an outline without any graphic overlay. I export a still from the original footage and keep the video project separate. A screenshot of my editing window would also bring along playback controls and the wrong crop.
The test is whether you can count the tails
In the wide shot the drawer looks finished but the corner becomes a brown blur on my phone. I move the crop closer until the alternating light and dark pieces read clearly. I leave a thumb at the edge for scale. The pencil mark stays too: this is a dry fit, and I want that stage of the build to be legible.
Only the still goes through my image workflow
I process a copy of the exported frame in RemoveDog. Against the original I check the thin line where the two boards meet. I also look at the thumbnail small, where wood grain can turn into a busy pattern. If the seam is hard to pick out, I choose another frame rather than making the whole picture sharper.
Why I keep the finished drawer for the video
My title promises a look at fitting the joint. A picture of the whole drawer would make a different promise. I put the dry fit on the cover and show the assembled drawer later in the video, where viewers can see how the corner got there. I save the frame time with the project in case I need another crop.